Thrive Design, Tips & Trends
How to create a DIY gallery wall on a budget
During the flurry of activity that is purchasing a new home, it’s not surprising that we sometimes forget about putting money aside for decorating it! A bit of DIY can come to the rescue when funds are tight and is a great way to inject some personality into your home. One of our fave DIY projects is a gallery wall. Now, we’re not talking about ripping some pictures out of magazines and whacking them on the wall. With a bit of forward planning, you can create something really special for your home, without costing you an arm and a leg. Here’s how.
1. Before you get started, devise a bit of a plan for the finished product.
What kind of imagery are you thinking of using and how are the images going to tie together? It helps to start with a bit of a theme, for example perhaps you’d like to tell a story from a recent family holiday, showcase images from an artist or artists that you love or create something using certain colours.
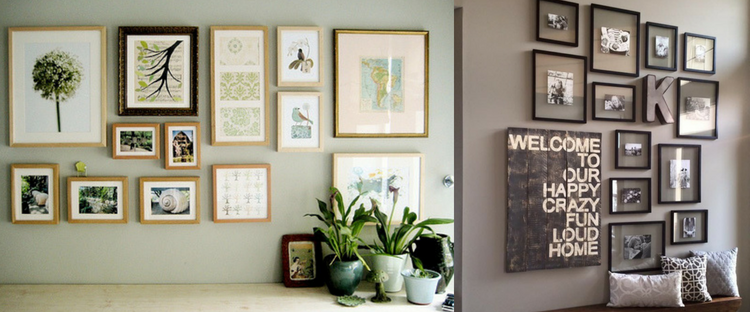
Images from Pintrest
2. Figure out where you’d like your gallery wall to go.
Take a walk around your home and think about the best spot for your collage. Think outside the square! Your photos don’t have to be all the same size, placed in a nice even shape or in straight lines on a flat wall. Think abstract shapes and varied sizes. Check out corners and doorways. Think of ways you can use your collage to accentuate a particular area of the house, like a sunny study nook or a kitchen corner.
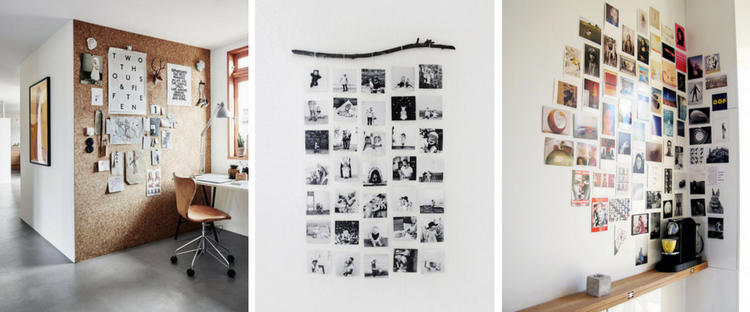
Images from Pintrest
3. Consider different ways to display your gallery on the wall.
You can certainly stick with the tried and true methods of hanging framed images, or pasting images directly onto the wall. Or, get creative with different materials - you can use string, wire, pegs, corkboard, anything! Keep your theme in mind, for example if you’re using outdoorsy images you could try rustic materials like raw string or wooden pegs. If you’re going for a more polished look, you could consider incorporating sleek finishes like metals or glass.
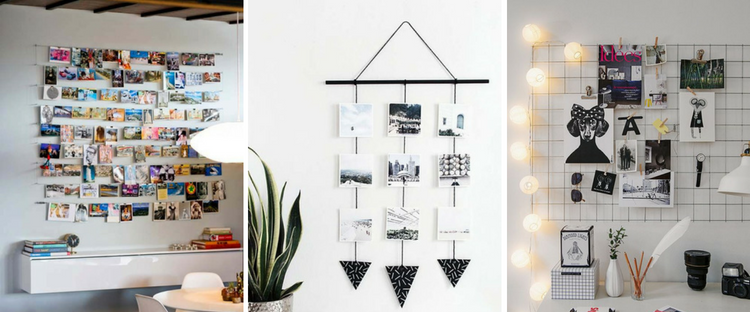
Images from Pinterest
4. Source your images and materials.
Once you have your theme, placement and additional materials down, you can start sourcing! Top tip - source more images than you think you’ll need, as it’s better to have too many than not enough. You can always incorporate arty-type shots and close-ups to fill empty spaces; for example if your collage is all about a holiday with friends, you could mix a selection of your own holiday snaps with some professional shots of the area sourced from online, or add some postcards and other memorabilia you might have picked up on your trip.
5. Mock it up.
You’re now fully prepared to put together your gallery wall! Use something easily removable, like blu-tack, to place images on the wall so you can move them around as needed. Alternatively you can use the floor as your wall, which works really well if you’re using other materials to hang your images like wire or wood as you can play around with shapes without actually committing to hanging anything as yet.
6. Create your masterpiece….a two step process
Step 1: Measure
The main mistake people make when it comes to this step, is they just start whacking things on the wall without making sure they’re going up straight, properly spaced, etc. Get a measuring tape and a ruler and mark up where everything is going to go. How tall and wide is your design? Make sure you’re starting high enough on the wall to leave enough space for the whole collage! Do you need to mount any backgrounds or other items? Make sure they’re going up straight! Stand back and look at your markups on the wall to make sure you’re happy.
Step 2: Finish it!
Finally, it’s time for your collage to go on the wall! There’s nothing more satisfying after all that hard work, than standing back and admiring your well planned, well executed and cost effective decorating achievement!
Has this helped you create an amazing gallery wall? We’d love to see your work! Pop your pics on Instagram and tag us @thrivehomesaustralia!


